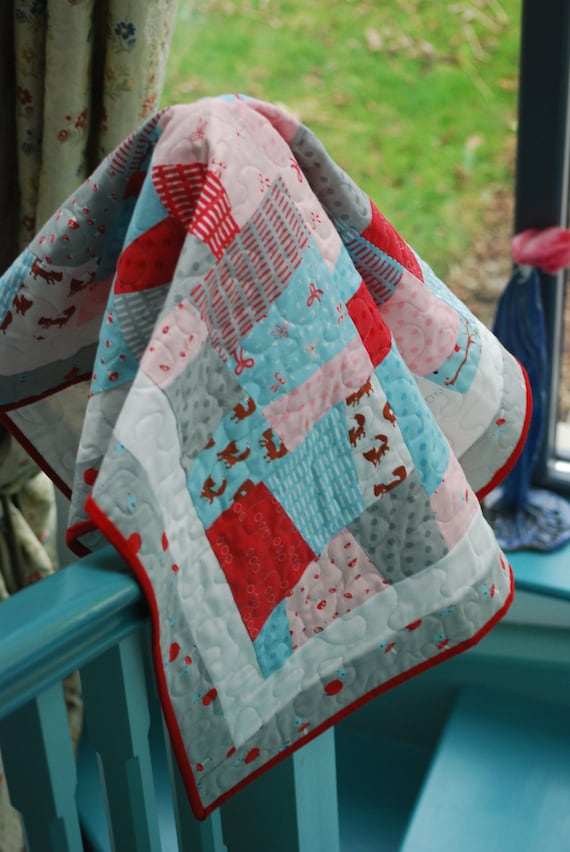
Do you use labels for your finished quilts?
When I finished my first proper quilt, the lady who gave me my first quilting lesson told me I should label all my quilts, so dutifully I did and bought a pack of 3 or 4 sheets of printable fabric. These are A4 sized white cotton fabric glued to a sheet of paper. You can load them on your printer to print your labels.
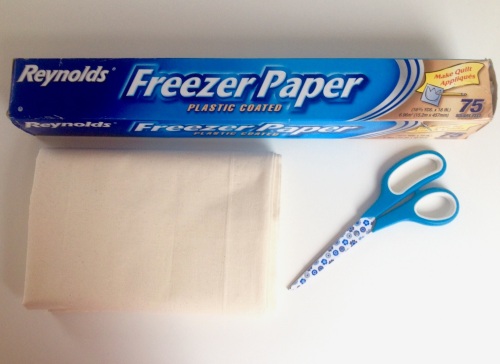
A friend told me that I could actually make them with freezer paper. I asked my husband to buy me a roll from the US during one of his work trips and I still have most of it left. I did try and with a bit of skill, it works. Here’s how I did it.
You will need:
Freezer paper
cotton fabric (I use calico cotton)
scissors
a stick of glue (for general paper crafts)
a printer (mine is a HP deskjet)
an iron
1. First you need to design your label on a word processor, you can add your logo and be as creative as you want.
2. Cut a piece of fabric the same size of an A4 sheet or slightly smaller and do the same with the freezer paper.
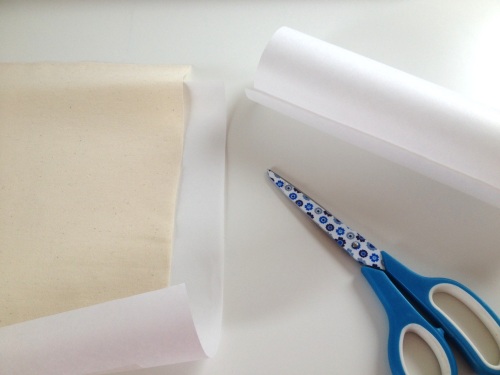
3. Prepare your iron by setting it a medium heat and press the freezer paper onto the fabric making sure that the glossy side is onto the fabric.

4. Press on the paper side and then on the fabric side to smooth it better.
5. Refine the size by cutting the edges with your ruler and rotary cutter.

Here’s a good tip: Sometimes I was able to load this sheet in the printer as it was and it went through perfectly fine. But other times it got stuck and created a PAPER JAM PAPER JAM…!!! This is easy to resolve by sticking the back (the freezer paper side) of your prepared sheet onto an A4 sheet of paper with a bit of glue. You only need to glue the bottom side, the one that starts to feed into the printer, to help it go through. This way it won’t get stuck and it will come out perfectly.

6. Make the most of it by printing two or three labels at a time, depending on the size you want. You can then cut them with your ruler and rotary cutter, press the edges to the back and sew them onto your quilts.

I hope you find this useful!
Have you got any other tricks to make your own labels? I’d like to know if you do.