Well, again it’s been a long while since my last post, so that’s why I’ve decided to hibernate… It’s quite difficult to juggle between a full-time job, 2 young children, a partner, a shop, a hobby, a blog… So I’ll take a break from blogging and hopefully I’ll come back with loooots more of time, to be able to read and enjoy other blogs (since this is how it all started and I really miss it).
I’ll say goodbye with a tutorial that many people asked me to share. Honestly, I didn’t really write anything while I was making the first quilt, it was all experimenting, but then I made a second one and took photographs of each step.
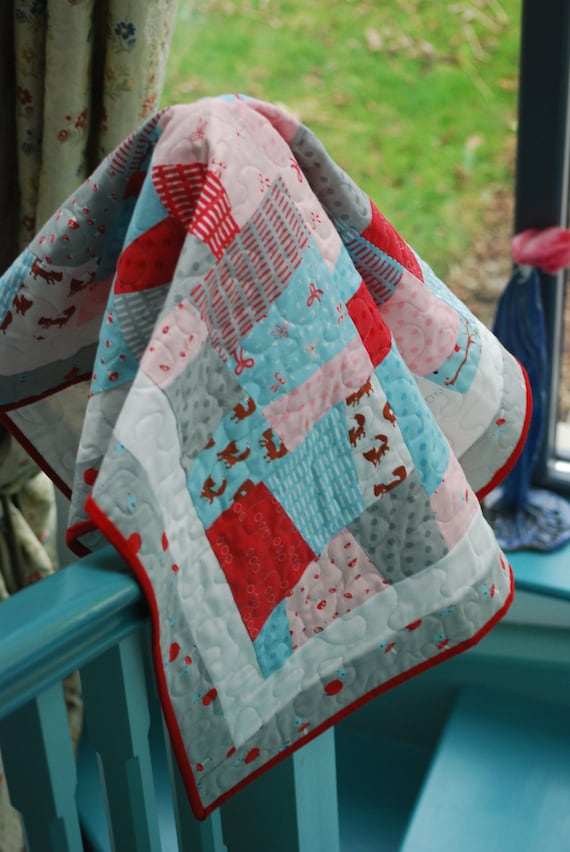
About a year ago I made this quilt. I had been (and still am) very inspired by the bright colours and rainbow-like projects from other blogs and flickr groups and I wanted to try and work with solids too. I also wanted to use my new 60 degree triangular ruler and cut triangles. I have this fear with triangles you see, they eventually open at the bias and I can’t never have a perfect seam… So I always sew squares diagonally to come up with triangles and I don’t have to deal with that.
But I really wanted to cut triangles!

I had seen this slightly tilted block idea in a quilting magazine. There was no instructions for it because the quilt was on the background of a photograph. I tried to search online for a pattern and typed “wonky square” on Google and all I got were lots of different designs of wonky squares alright but not like the one I wanted.
I’m sure there would be an easier way, probably some more experienced quilters would be able to work that out in no time. But I’m not that experienced…
Here I’ll show you what I did to find out the size of the triangle I need to make the block. You can change the angle of inclination to make it more or less tilted, and then I’ll show you how I assembled the quilt. Write me an email if you have any questions 🙂
irinadejuanATgmailDOTcom
How to make a triangle template for a wonky square block
(*NOTE if you do not have a 60 degree ruler, find the diagonal line on the grid of cutting mat that marks a 60 degree angle)
1.Take a paper and cut out a square about 4″ larger than the square you want to be tilted ( here a 5″square).

2. Align the right angle of the ruler with the bottom left angle of the paper square and align the side of the 5″ square with the side of the ruler like this:

3. Make sure to leave 1/2″ between the angle of the 5″ square and the side of the paper square.
4. With a ruler, trace a line along the side of the 5″ square, from that angle to the next one and again leave 1/2″ between the angle and the side. Do the same following the perimeter of the 5″ square .

5. Cut the excess paper to have an exact square with 1/2″ distance from each of angles of the inner square to the sides of the outer one as shown below.


6. Cut this triangle as a template and add 1″ at the bottom following the horizontal lines of the ruler like this: (*NOTEif you do not have a 60 degree ruler, find the diagonal line on the grid of cutting mat that marks a 60 degree angle)


This will be the size you’ll need for a 5″.
So by cutting 2 rectangles of fabric that measure 7″x 4″, and cutting them diagonally,
I would get 4 scalene triangles just like the template I wanted.
You want 4 triangles like this if you are using white fabric like I did because there isn’t right or wrong sides on solids. If you are using printed fabric, you will need to cut 2 triangles, then flip the template over and cut 2 more.

How to make a wonky square quilt with solids
(please note the photographs will show alternate patterns. This tutorial will show you how to make the blocks. The way you arrange them is up to you 🙂
MATERIALS:
– rainbow colours: 5″ squares, as many as you want depending on how big you want your quilt.
– white fabric: 4 triangles per coloured square (follow template above)
pssst… Did you know that FILILIS is selling Moda solids at 50% off???

To make a block with a centre square tilted onto the left, sew the longest side of the triangle onto the top and bottom sides of the square making sure the 60 degree angle is on the left. Leave 1 1/4″ off the edge, as shown below:

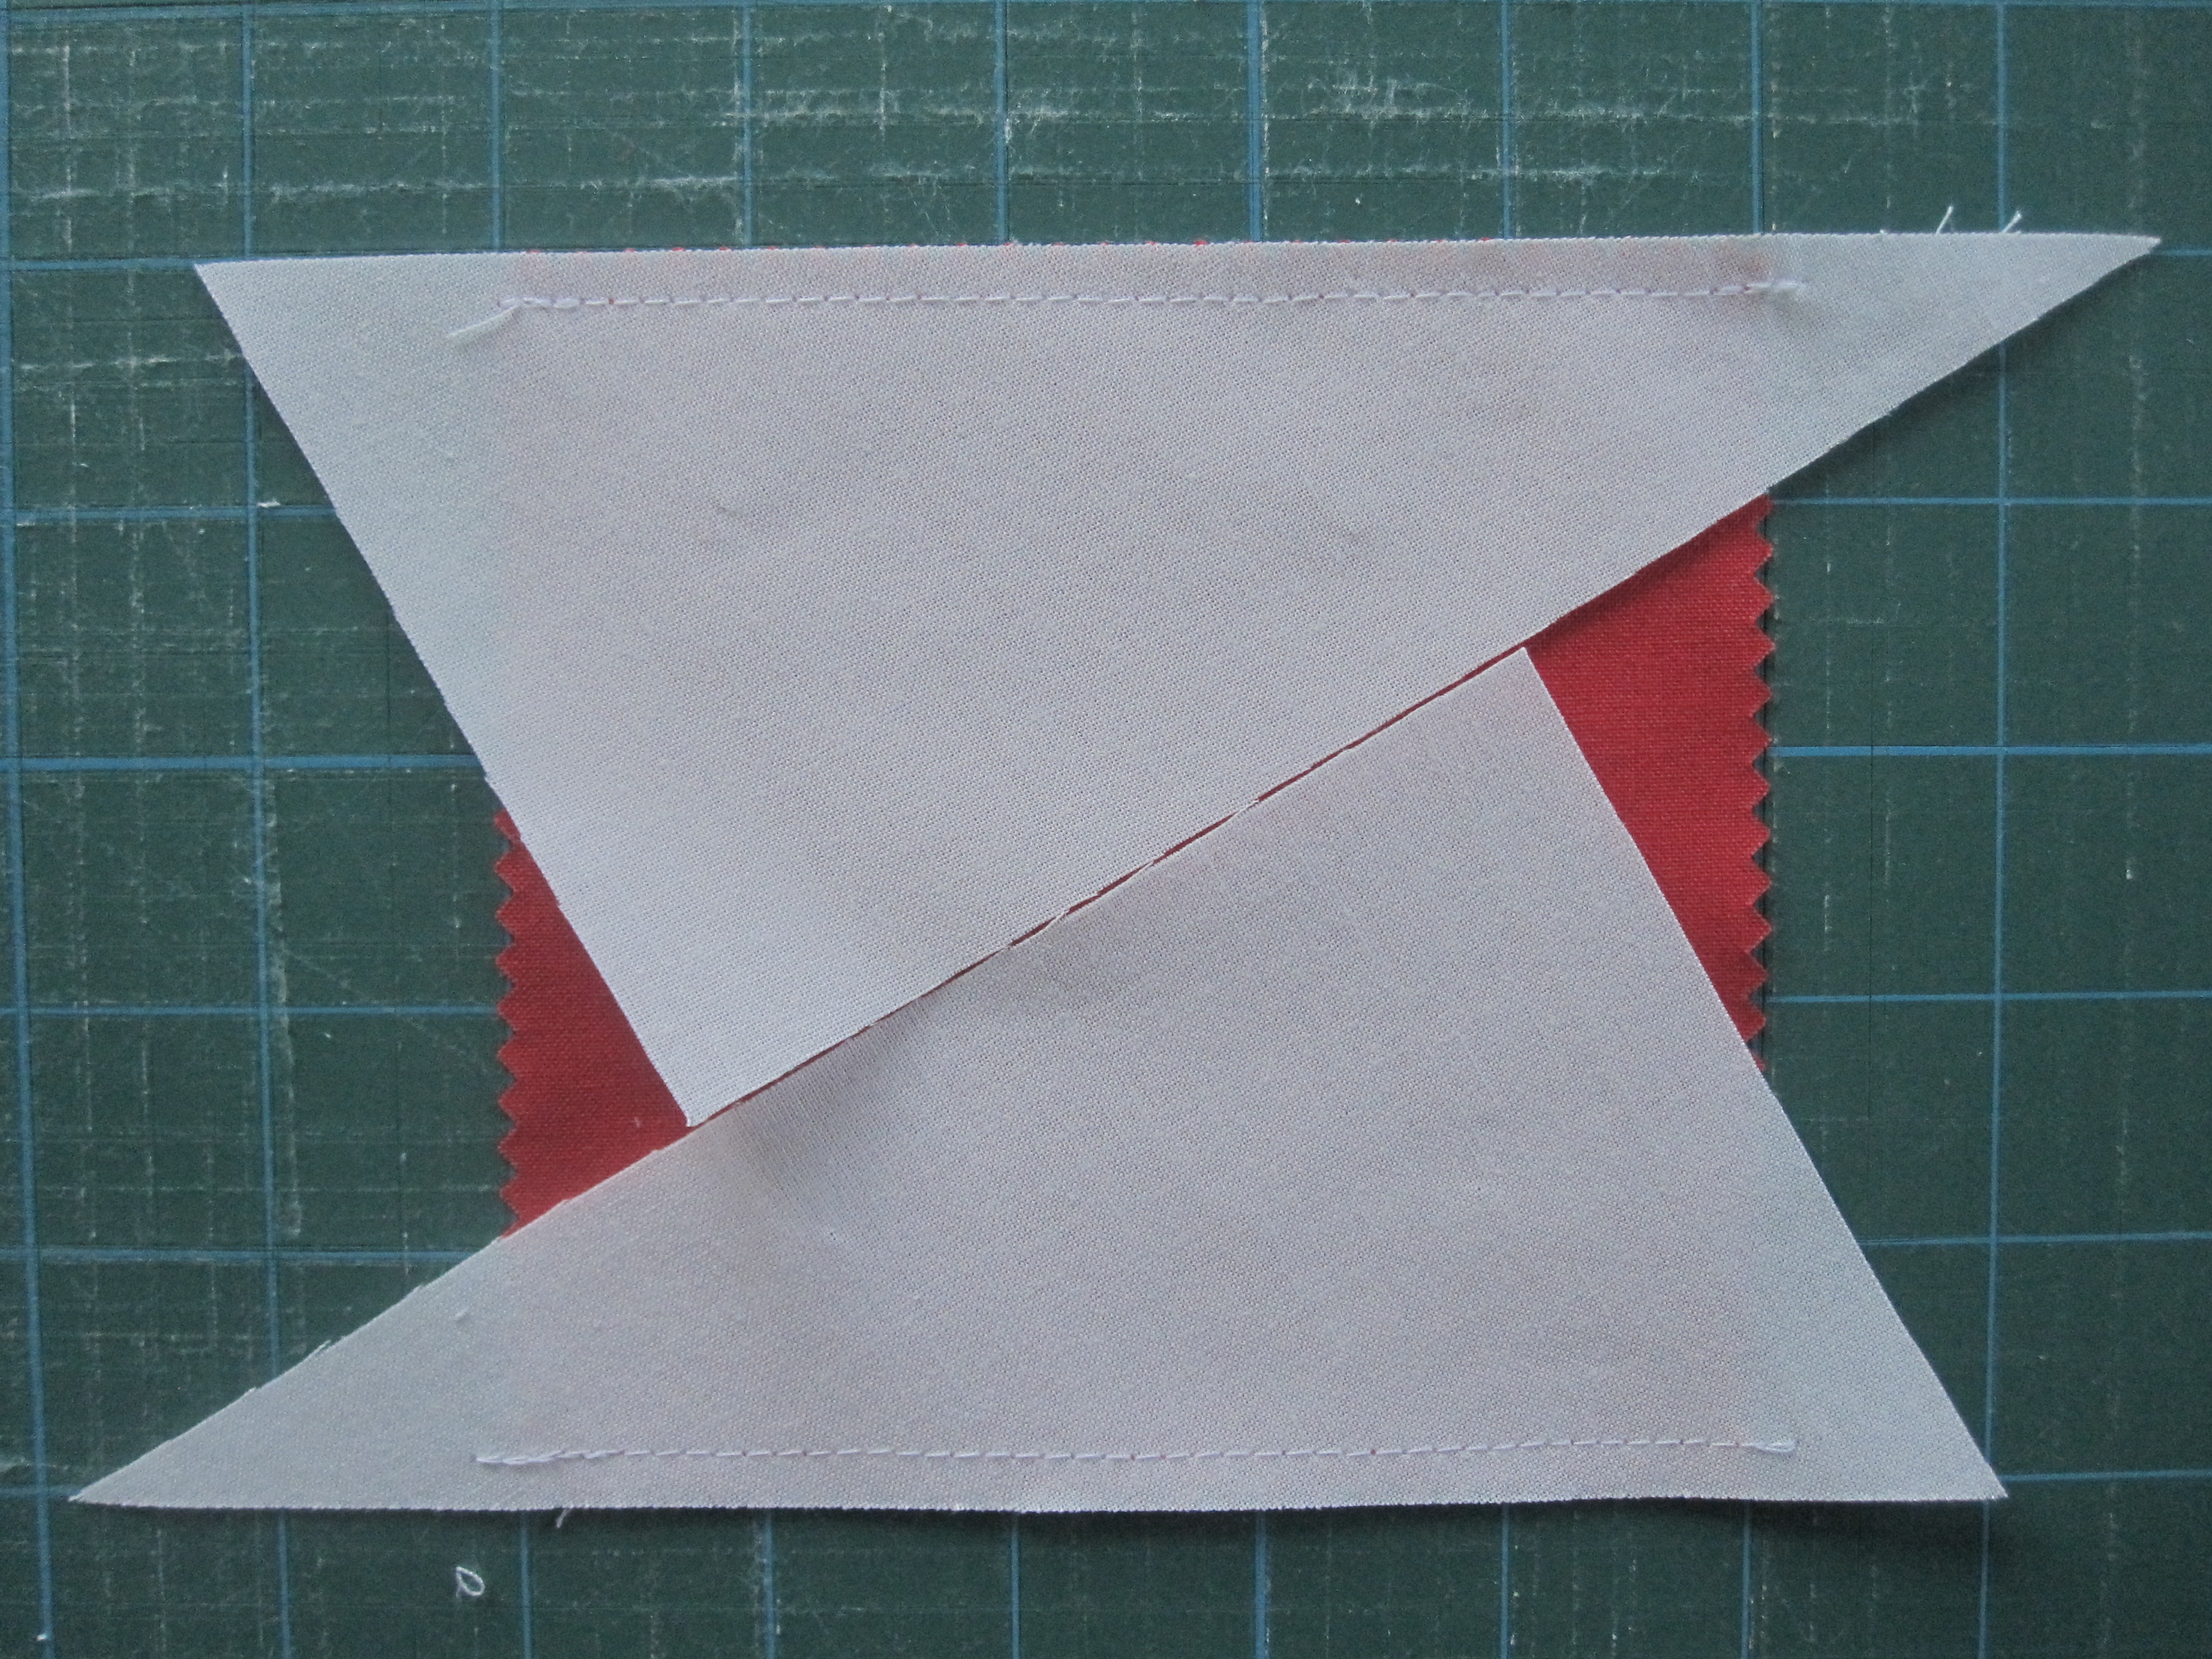
Press seams to the white and sew the other 2 triangles as before, pressing seams to the white.


Align the block with the grid of your cutting mat and with a squared ruler align a 1/4″ off each angle for a seam allowance.


Rotate the block and do the same with the other to angles.

You end up with a 6 3/4″ square block
For a block with the square tilted onto the right, you would need to flip over the triangles so the 60 degree angle is on the right.
Follow the same steps as above.


Cut the little corners at the back.
Arrange the blocks the way you like and sew them row by row, pressing the seams to one side for one row, and to the other side for the row below.
When all the rows are sewn, start to sew the top one with the one below and press the seams open.

Add a border with the same with the same white fabric.


Proceed to quilt following your desired pattern.
I preferred to highlight the squares so I sew straight lines on the outside of each square.
For the borders, I echoed the zig-zag all around the squares.


There are a few different patterns you can make using these blocks. I hope you enjoyed to watch this process! I donated this last quilt to raise funds for a beautiful boy with cerebral palsy (and the most astonishing blue eyes) who lives in our area.